My Account – Adding a Sub-User
STEP 1: The primary user signs into My Account.

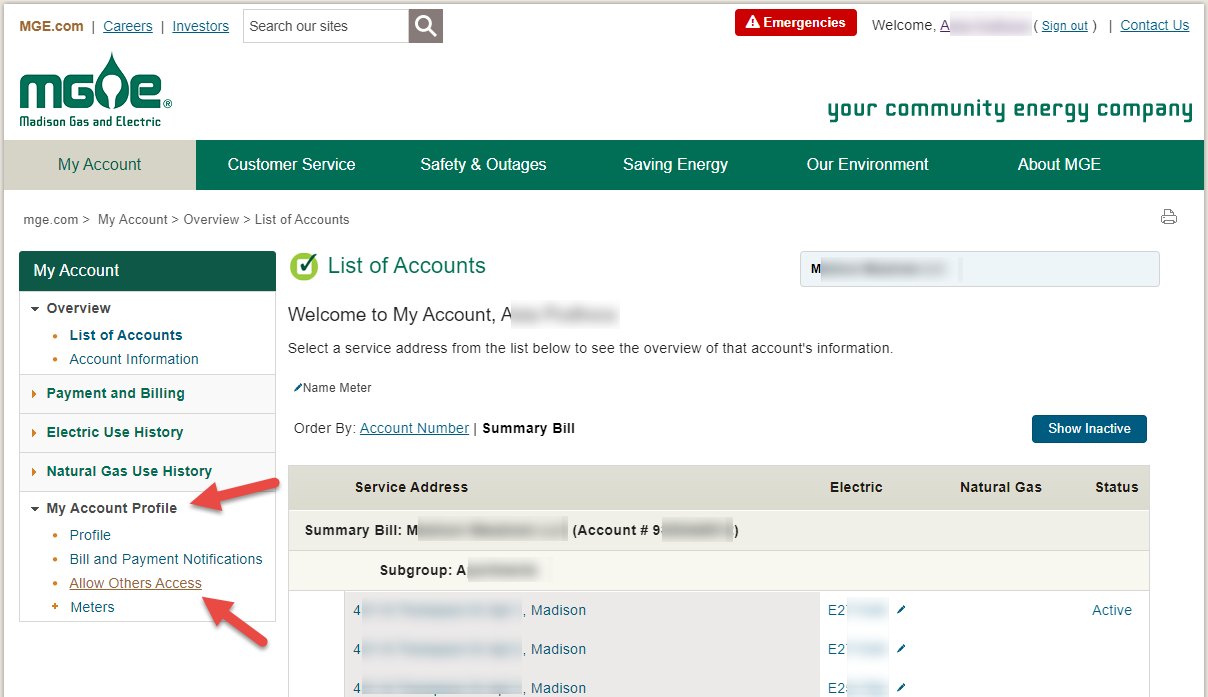
STEP 2: On the My Account overview page, click to expand My Account Profile and select Allow Others Access in the left navigation.
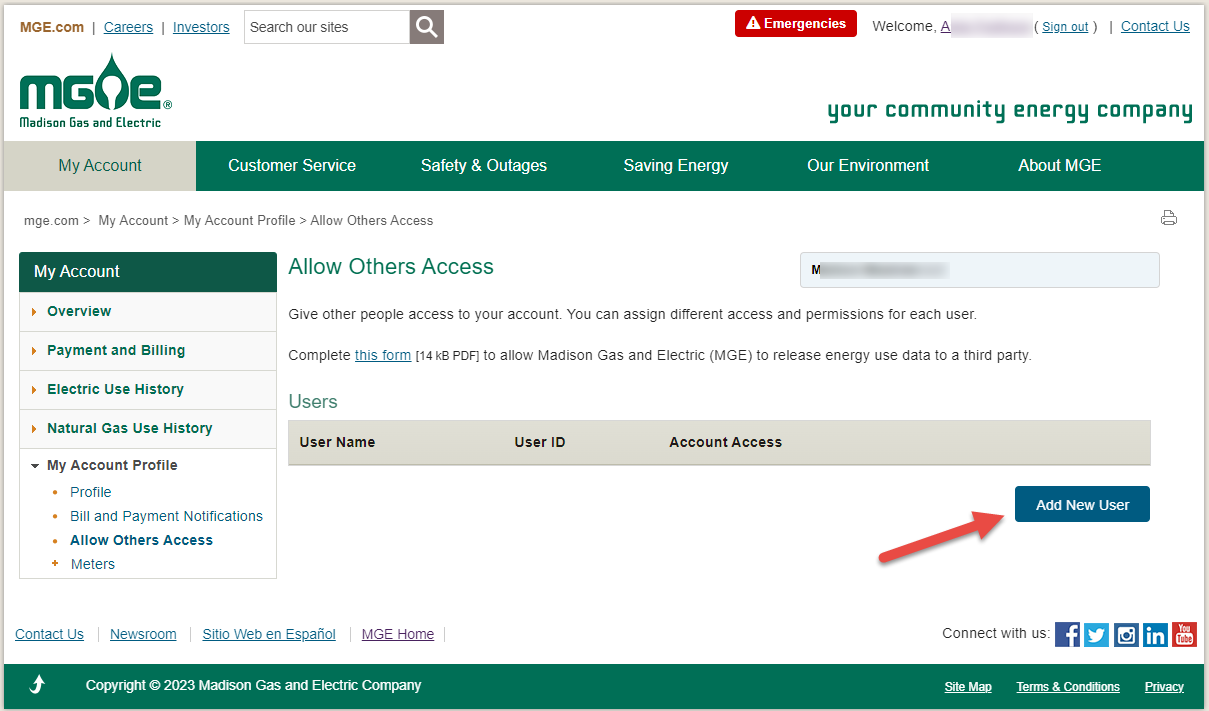
STEP 3: On the Allow Others Access page, click the Add New User button.
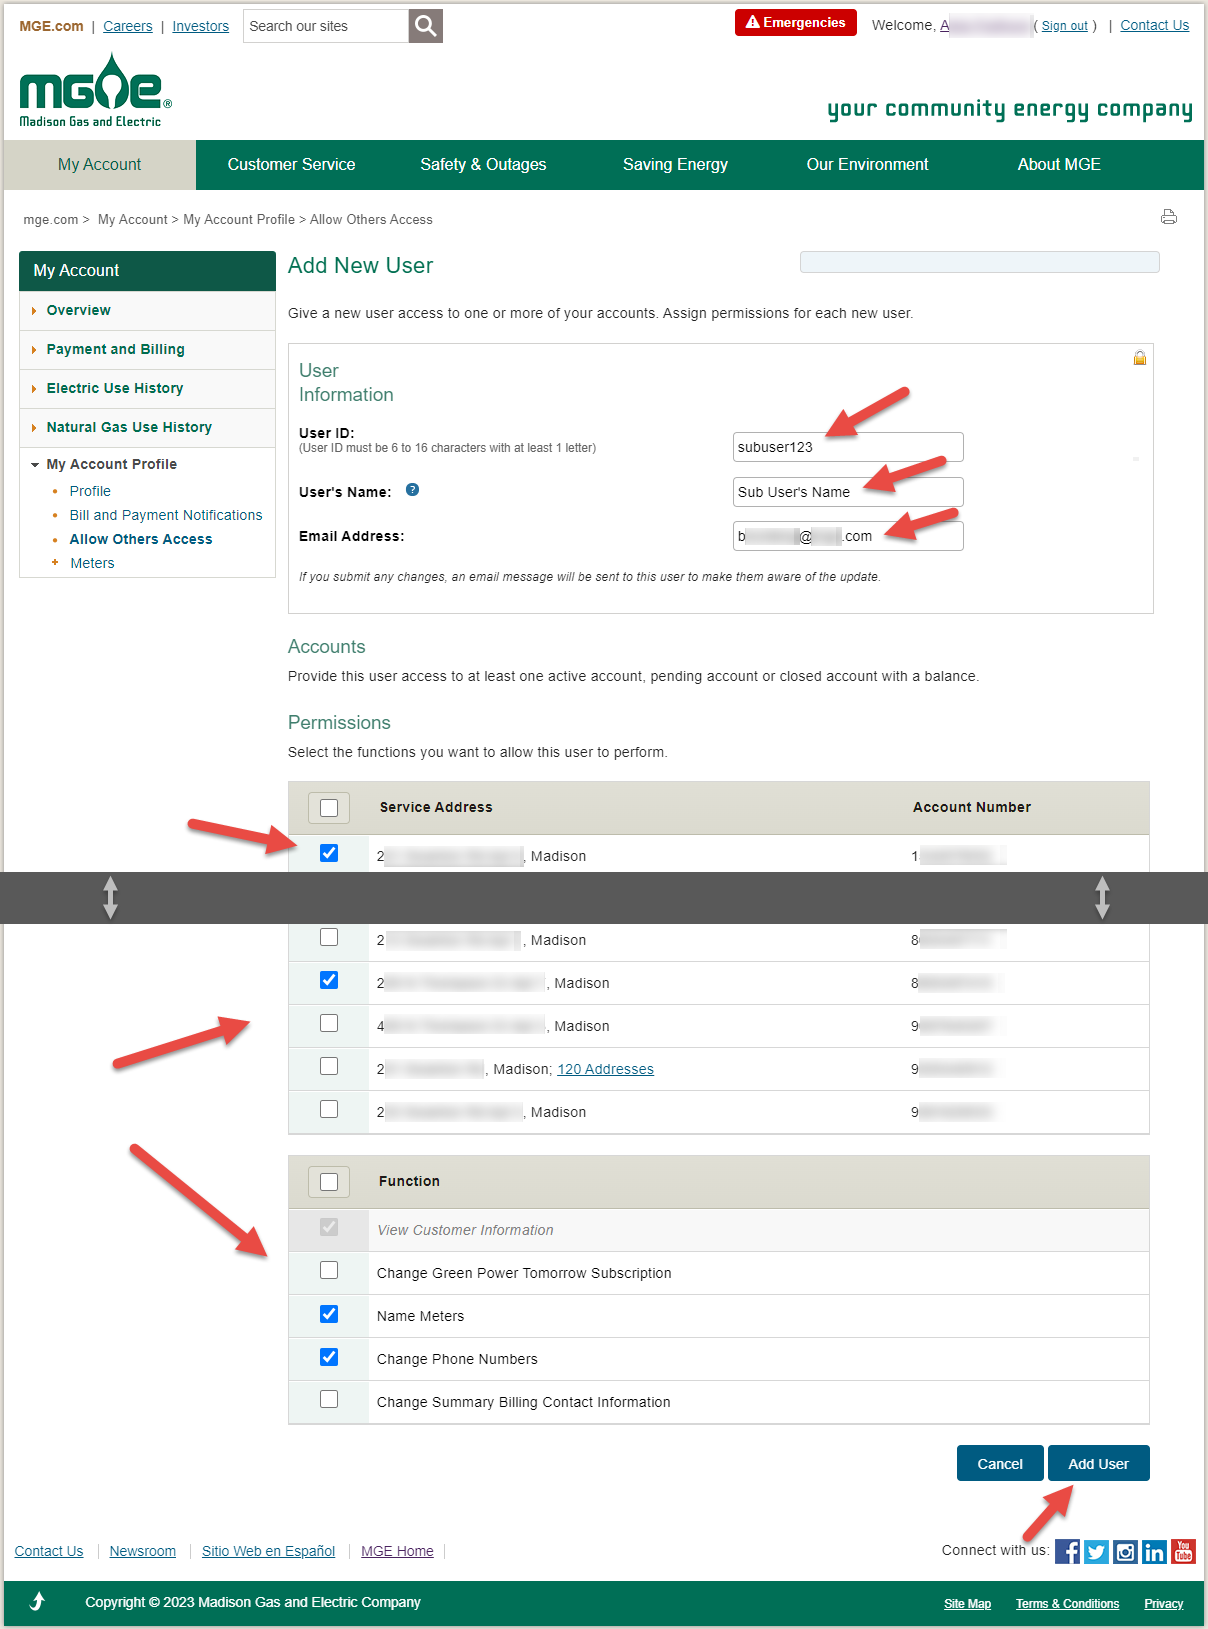
STEP 4: Enter a User ID, the User's Name and an Email Address for the new sub-user. Under Permissions, click in the Service Address and Function checkboxes for which they should have permission. Click the Add User button and OK on the confirmation pop-up.
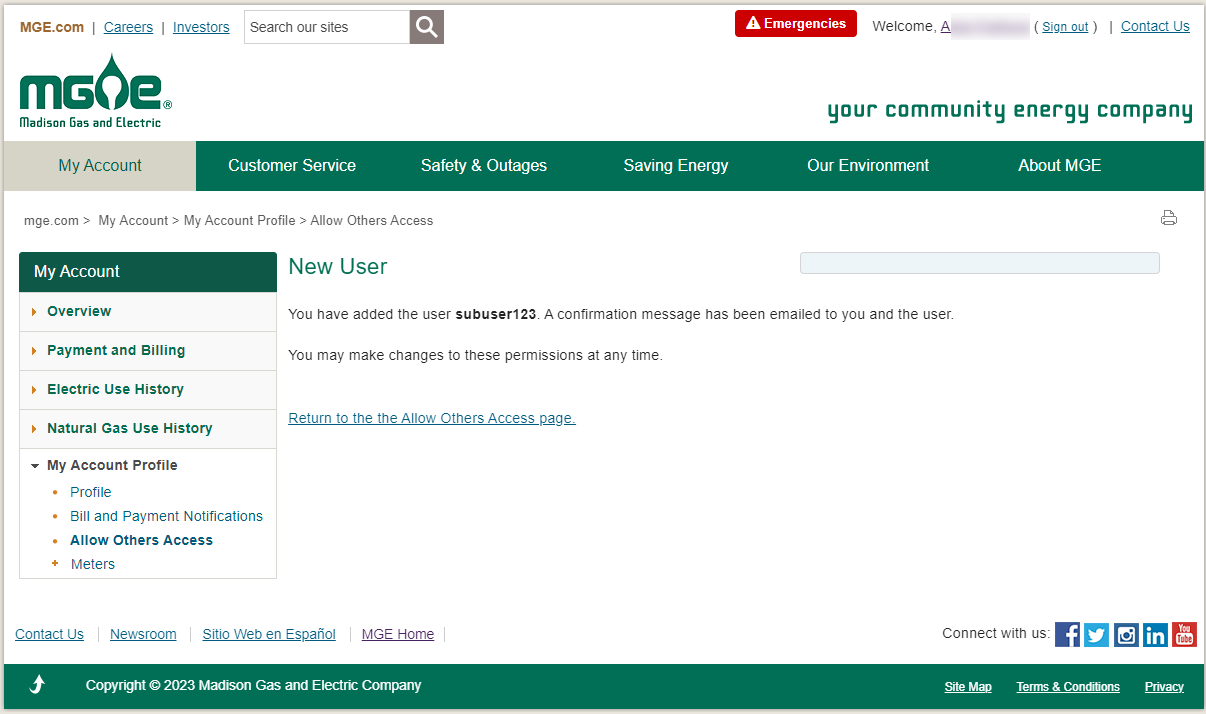
STEP 5: The confirmation page will indicate that the sub-user has been added.
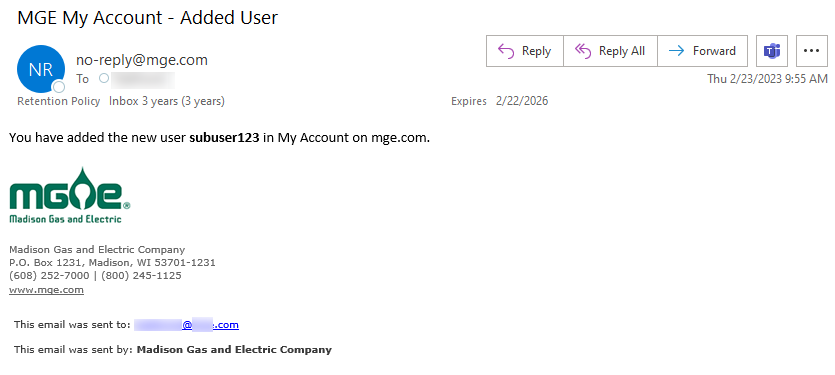
STEP 6: A confirmation email will be sent to the primary user.
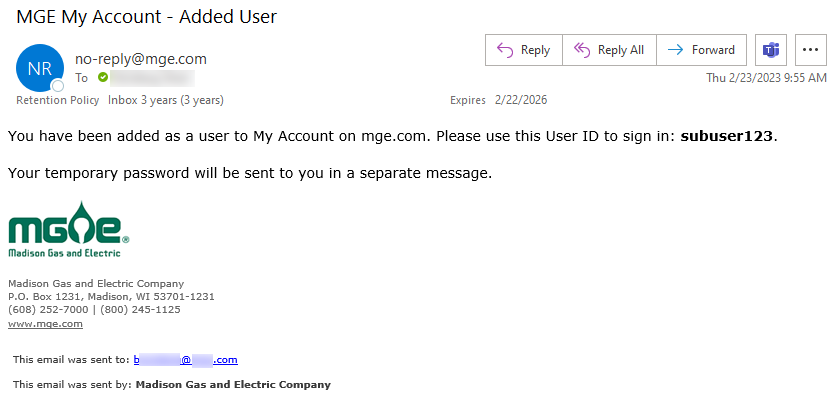
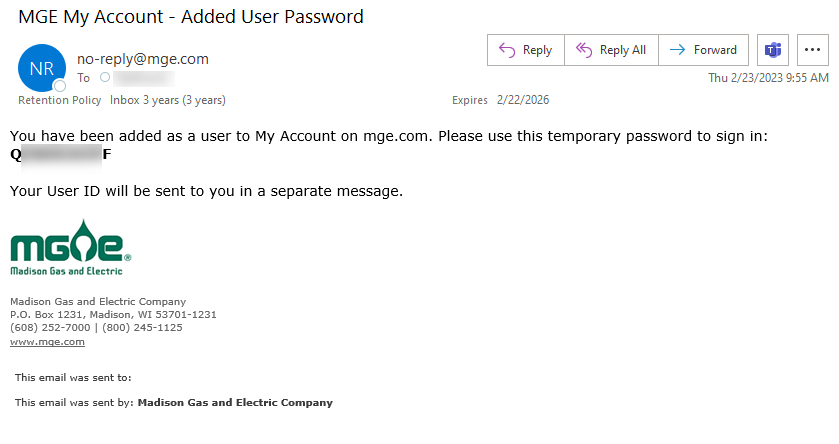
STEP 7: The sub-user will receive two emails – one containing their User ID and another containing a Temporary Password to sign into their new account.